DIGITAL MATTE PAINTING - EXERCISE
TAN YING YI / 0362425 / BACHELOR OF DESIGN (HONS) IN CREATIVE MEDIA
DIGITAL MATTE PAINTING
EXERCISES
INSTRUCTIONS
FUNDAMENTALS OF MATTE PAINTING
Instructions
Fig 1.3 Two Point Perspective
Virtual Plain Air
I put the references beside my paintings so that it is easier to see. I paint them black and white first to understand the value and then fill in colours using multiply.
Fig 2.1 Painting of Cliff
Sky Replacement
This tutorial let me more understand what should be added (reflection in water) while doing sky replacement.
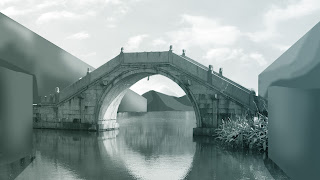
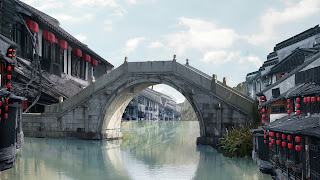
Fig 3.1 Original Image
Due to the less-than-ideal outcome of the first attempt, I made revisions based on the feedback from the lecturer. I adjust the colour so that the river don't look so green.

Fig 4.1 Composition and Ambiance: Paint to show value on the base. Used green and blue gradient as ambiance.

Fig 4.2 Photobashing: Used bridge as the base then added houses and mountains.
Feedback: Perspective is off.
Fig 4.3 More detailed composition
Fig 4.4 Ambiance Study - I would like to make it feel like raining.
Fig 4.5 Composition Scene 3
Feedback: Too near
Fig 4.7 Composition Scene 2
Feedback: Can have more extention
Feedback: Can have more extention
FEEDBACK
Week 3: Value studies should be black and white. Use simple shapes to understand the basic shapes of buildings.
Week 4: Work smart by using brushes. For example, while drawing windows, texture of rocks, clouds, trees......
Week 5: Virtual plain air should be coloured. Find out the base colour first then add colours from light. Put the reverence beside the painting so that it is easy to compare. Better to put texture of rocks.
Week 10: It would be difficult if the object is too near to the camera (Solution: 3d modeling). The base should be the land, building cannot be the base.
REFLECTION
Through these exercises, I gained a better understanding of how to draw perspective. I also developed a deeper understanding of the value of objects, which helped me become more skilled in using light and shadow. These exercises also trained my eye, allowing me to more accurately capture the colors in an image.


Comments